Get the most efficient fire in your wood burning stove
If you light up your wood burner correctly, you will avoid smoke and the smell of smoke in your home and, at the same time, reduce the emission of particles. The following tips will secure ideal kindling.
1. Light up from the top
Most people have tried to make a bonfire in the garden where the lighting up takes place from the bottom. This is why many find kindling from the bottom to be a natural procedure. Lighting up in a stove is, however, the exact opposite. You light up from the top.
The reason for this is that, this way, you will reach the highest possible temperature most rapidly. You obtain the cleanest combustion at a high temperature. You can easily detect the difference between clean and unclean combustion by the amount of emitted smoke. The less smoke, the better the combustion.
2. Use high-quality firewood
Make sure to buy dry and clean firewood. The Danish Environmental Protection Agency recommends the use of firewood with a maximum of 18% water.
Do not use unclean wood such as e.g. pallets, old wood boards, cladding or other wood waste. Such wood may contain chemicals that you cannot see with the naked eye.
3. Secure a correct amount of air (funnel draught)
When you light up, it is important to secure sufficient air for the combustion. You can see whether there is sufficient air or draught by an almost invisible smoke – also during the lighting up phase.
Most wood burners facilitate adjustment of air supply. Once the firewood is burning, the newest wood burners will provide the optimal feeding of air.
Guide
For kindling, you will need:
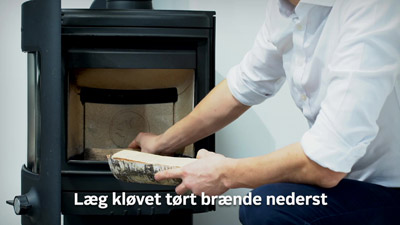
- Approx. 1-1.5 kg chopped and dry firewood
- 1 kg dry kindling wood
- Kindling bags or tabs
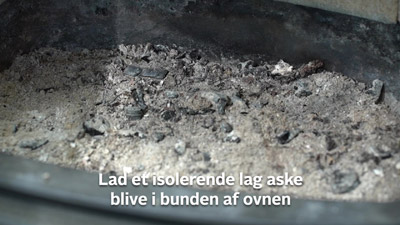
Leave a layer of insulating ash at the bottom of the stove
To obtain the best possible lighting up of your woodburner, you should always have an insulating layer of ash from previous burnings at the bottom of your stove.
Place chopped wood at the bottom and
Place kindling wood at the top
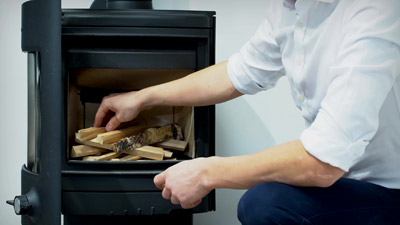
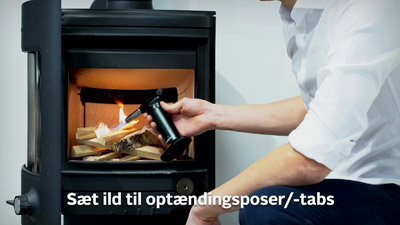
Put kindling bags/tabs in between the kindling wood at the top
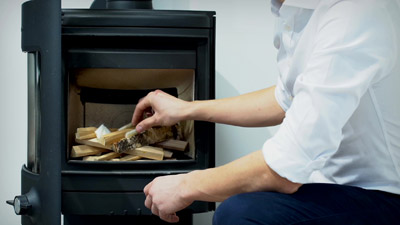
Light up these kindling bags/tabs
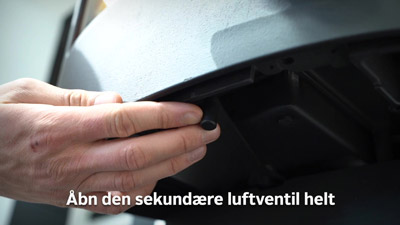
Fully open the secondary air valve
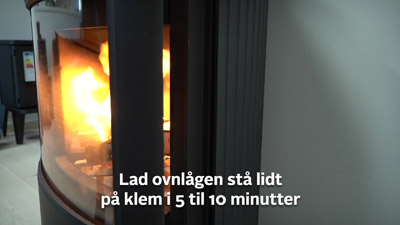
Leave the oven door ajar for about 5 to 10 minutes
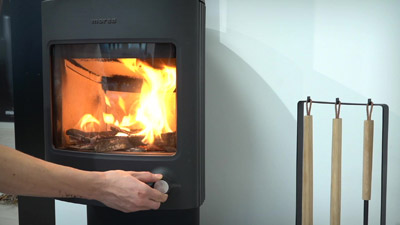
Close the door and set the valves at the desired position
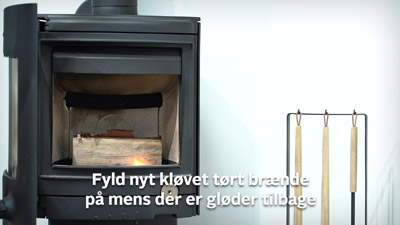
Put on new chopped wood while there are still embers
Leave the ash at the bottom
There should always be a 2-3 cm layer of insulating ash. This layer of ash at the bottom provides insulation the same way as the side bricks. This secures a high combustion temperature which will contribute to your obtainment of clean combustion without too much soot.
In addition, the ash layer will protect the shaking grate against burn through. The ashpan must be emptied as needed. But remember that the ash must be kept in an ash bin for a few days till all embers have been extinguished. Next, the ash is discarded in a closed bag together with your household refuse.